Comprehensive Guide to Tile Spacers
, by Initial Tiles, 6 min reading time
, by Initial Tiles, 6 min reading time
This guide is all about tile spacers and how important they are for making your tiles look really good. It doesn't matter if you're fixing up the floors inside or adding tiles to your outdoor space in Sydney. It talks about everything from picking the right spacers to the easy steps for putting tiles in place. Using tile spacers doesn't just make your tiles look awesome; it also helps them stay in good shape for a longer time.
Tile spacers might look small, but they're a big deal when it comes to making your tiles look great. Whether you're sprucing up your floor or adding some style to your outdoor tiles in Sydney, understanding how to use tile spacers is really important.
In this easy-to-follow guide, we'll go through different aspects of tile spacers, answer common questions, and share some useful tips for your tiling projects.
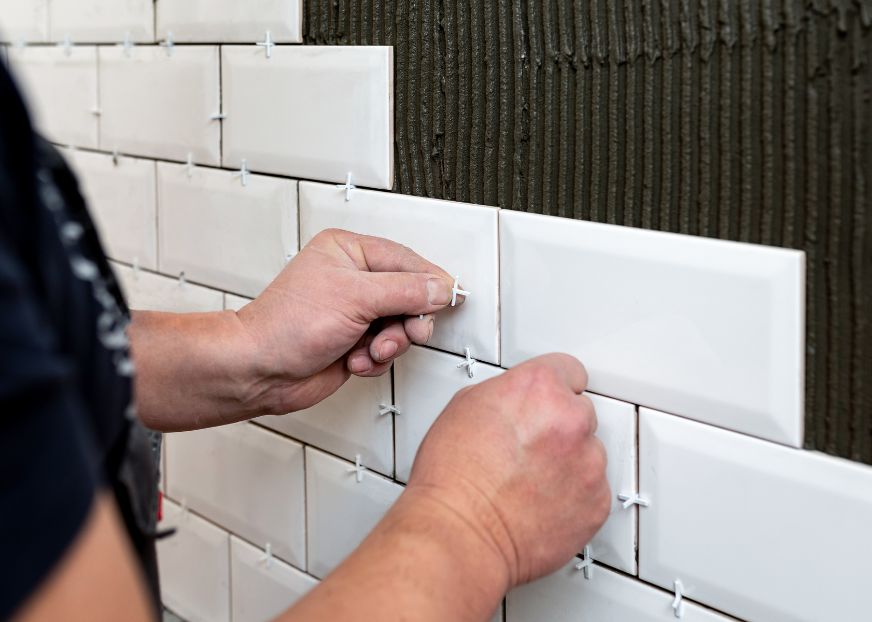
Tile spacers are little crosses made of plastic or foam that you put between tiles when you're installing them. They help create even gaps, known as grout lines, between tiles, making everything look neat and tidy. Tile spacers come in different sizes, so you can pick the right one depending on the type and size of your tiles.
Even though it might be tempting to skip using spacers, it's a good idea to use them. Spacers stop tiles from moving around while you're putting them in place. Without spacers, getting those nice, even grout lines can be tricky, and your tiles might not look as good as you want them to.
Absolutely! Once your tiles are set in place and the glue is dry, it's time to add the grout. The spacers make sure there's enough space for the grout to go in between the tiles. After the grout dries, you can take the spacers out, leaving you with tidy grout lines that make your tiles look fantastic.
The size of your spacers depends on a few things, like the type and size of your tiles and how wide you want your grout lines to be. For floor tiles or outdoor tiles in Sydney, where bigger tiles might be common, spacers between 3 to 6mm are usually a good choice. Always check what the tile and glue manufacturers recommend to get the right spacer size for your project.
The time you need to leave the spacers in place depends on the glue you used. Usually, you can take the spacers out once the glue has set, which might take a day or two. Waiting for the recommended time makes sure your tiles are secure before you start adding the grout.
Taking out spacers that are a bit stuck needs a gentle touch to avoid damaging your newly installed tiles. You can use a pair of small pliers or a spacer removal tool to carefully twist or pull the spacer out. If a spacer is being stubborn, give it a bit more time before trying again.
Make sure the surface you're putting tiles on is clean, dry, and flat. Any bumps or uneven spots can affect how your tiles sit.
Pick spacers that match the size you need for your project. Think about the type of tiles you're using and how wide you want your grout lines.
Start in one corner and put down your first tile, pressing it firmly into the glue. Use spacers to leave gaps at the corners of the tile.
As you add more tiles, use spacers along the edges to keep everything even and spaced out.
Regularly check that your tiles are straight using a level or straight edge. Make adjustments as needed to keep things looking good.
Wait for the glue to set, following the instructions from the manufacturer, before taking out spacers or adding grout.
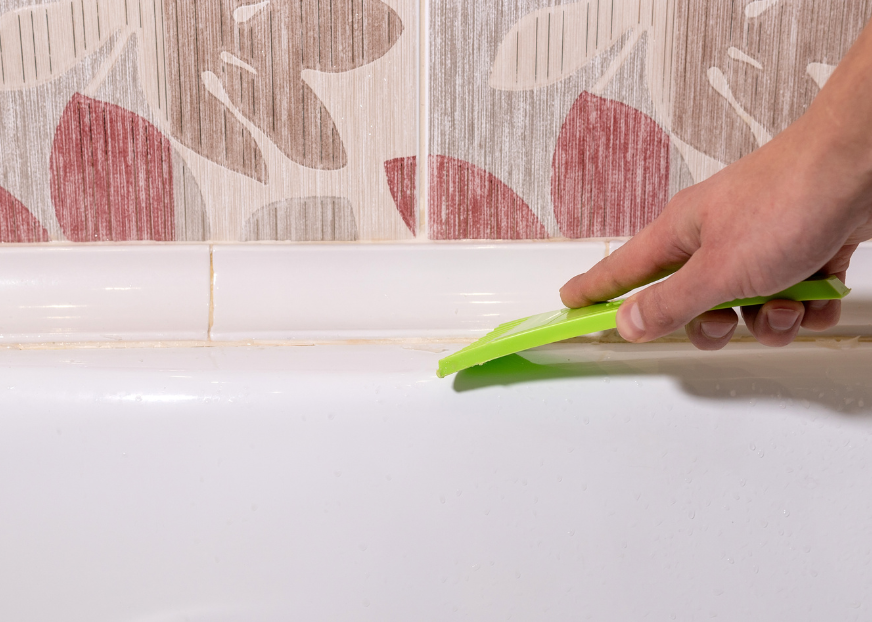
Once the glue is set, use a rubber float to add grout between the tiles. Wipe away any extra grout with a damp sponge.
After adding grout, carefully take out the spacers before the grout fully dries. Use pliers or a spacer removal tool, being careful not to mess up the fresh grout.
Once the grout is dry, use a damp sponge to clean off any leftover grout from the tiles.
By following these simple steps and thinking about what your project needs, you can make your tiles look amazing, whether you're working on the floor or adding some style to your outdoor tiles in Sydney. Using tile spacers doesn't just make your tiles look good; it also makes sure they last a long time.
Now that your tiles are all set and looking great, here are some tips to keep them in top-notch condition:
To keep your tiles looking nice, make it a habit to clean them regularly. Use a broom or vacuum to get rid of dirt and bits that might scratch the tiles. This helps to maintain a shiny and scratch-free surface, making your tiles look good for a long time. Just by regularly cleaning, you not only make your tiles last longer but also keep your living space consistently clean and pleasant.
Even though tiles are tough, using strong cleaning stuff can slowly ruin their shiny look. It's better to go for gentle, tile-friendly cleaners. These milder options clean your tiles without causing any damage, keeping them looking great for a really long time. By staying away from harsh cleaners, you not only keep your tiles looking good but also take care of them, ensuring they stay strong and good-looking for many years.
Do you want to transform your space with beautiful tiles? Discover a wide range of quality and stylish options at Initial Tiles & Bathware. Our curated collection ensures your home radiates timeless elegance. Explore our website or visit our showroom to find the perfect elements for your tiling project. Enhance your space with Initial Tiles & Bathware today!