How Can We Tile A Backsplash?
, by Initial Tiles, 5 min reading time
, by Initial Tiles, 5 min reading time
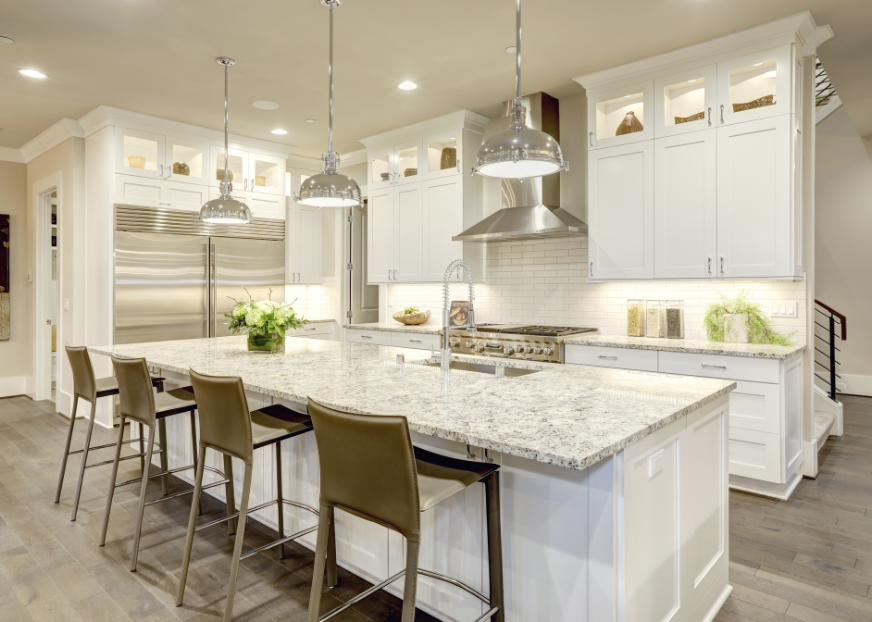
Nothing gives an attractive look and comprehensive style to your kitchen backsplash than tiles. The tiling will not only provide an aesthetic and lively appearance to your kitchen but also ensure a better way of cleaning.
Upgrading your kitchen by tiling a backsplash can be executed in a few simple and pretty straightforward steps. But first, let's learn more about What Is a Tile Backsplash and Where Should It Be Installed.
Backsplashes are a piece of material covering the length of a countertop and filling the gaps between cabinets and the wall in a kitchen or bathroom.
Small sections of backsplash that run above farmhouse sinks to pre-2000s mosaic-style backsplashes that were frequently supposed to complement kitchen flooring have traditionally been used.
Today's tile backsplashes are a great complement to one of the most frequently used rooms in the house, adding fascinating textures, colour schemes, and design patterns to the space.
They should be installed at the same time as the countertop, but they can be done as a professional or do-it-yourself effort at any time.

You don't have to be an expert to learn how to install a backsplash, though it will take some time. With sufficient planning, even first-time homeowners can grasp the basics of tiling a tile backsplash. Learn how to properly build a backsplash by following the steps below.
When tiling a backsplash, you first need to figure out the right colour, texture, and shape of the tiles that you want to work with. Now, you need to make sure that the surface being tiled is clean and dry. If you find any debris, then scrape it off, wipe the surface with a moist sponge, and allow the space to dry.
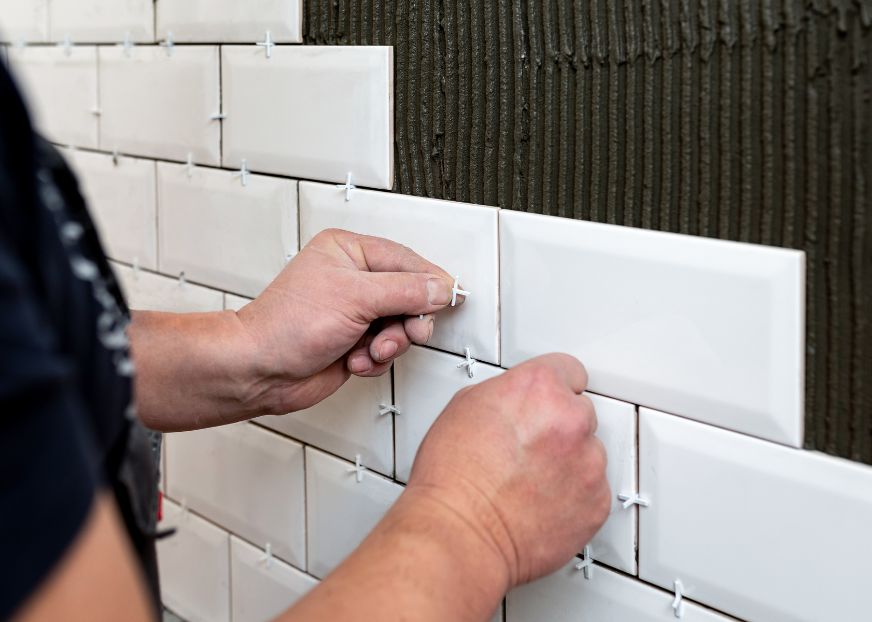
One of the crucial parts of the tiling is to decide on where to start. However, the magical spot is the centre point of the specified backsplash area. You must begin in the middle and work your way outward or towards the sides. This process ensures that the tiling and spacing look even at the end.
Layout your tiles and place them against your wall to see if they are spacing out evenly and offering a good look. This helps you to make sure that the tile line remains straight. Now, there is a need of masking off the countertops either with a newspaper or a cloth to protect them from mastic and grout from the tiling process.
Prepare the mastic adhesive according to the manufacturer's instructions. Spread a thin layer of this adhesive on the wall using a trowel, starting at the bottom centreline.
After applying the adhesive on the wall, push the tile against it firmly with your hand. At this point, the spacers should be used below and between the tiles to ensure it matches the level line you had drawn. When the bottom row is set, then you can build your way up and towards the edges.
Tip: As glass tile can show through, use white thinset/adhesive. Thinset/adhesive should not be used to cover the layout reference lines.
However, one must remember to wipe out the excessive adhesive by using a damp cloth or sponge. Any mastic squeezed out should be cleaned before it dries up on the tiles or the wall. Also, it would be best to keep a bucket of water and cloth by your side to clean your trowel so that the adhesive doesn't get hardened on it.
Once you reach the edge of the backsplash, you need to cut the tiles to fit the remaining spaces. You can measure the remaining distance and cut the tiles on a wet saw according to the measurements.
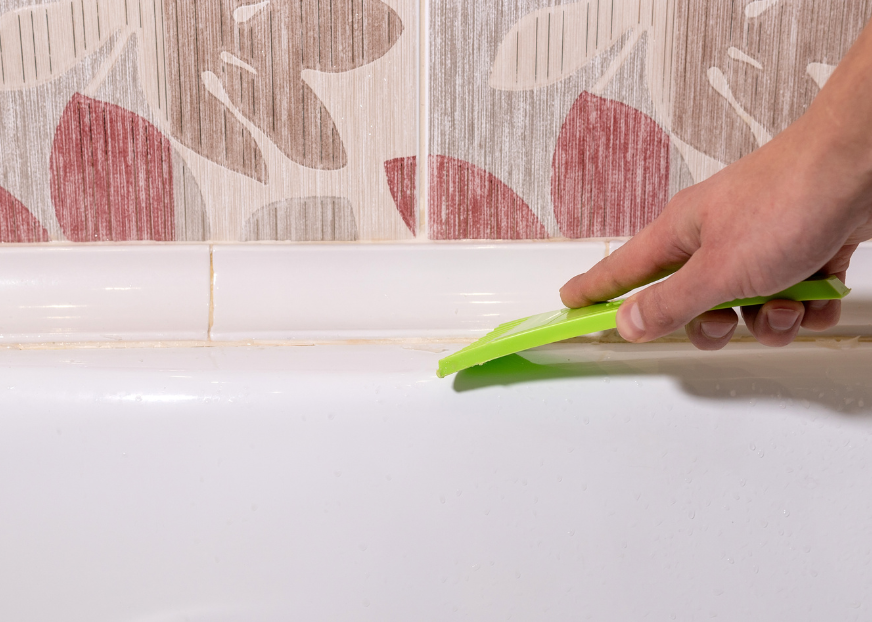
Wait for a day or enough time for the tiles to get fixed and all dried up. Prepare the grout mixture (Sanded Grout) and apply it across the tiles using a grout float. Try smearing the grout into the joints and while you go through it, scrape off the excess and even out on the backsplash properly.
Wait for 10-15 minutes for the grout to get hardened, and then clean it off using a wet sponge. Take a bucket of water and wipe the tiles and the whole area. Continue the process until you find the backsplash all cleaned up and the joints grouted.
Tip: White grout looks the nicest when it comes to glass tile installations. When removing extra grout, don't wipe it away from the joints. To protect the grout lines, always apply mild pressure and move in a diagonal direction.
This last step will allow you to match the colour of the grout to any internal joints by using a caulk or silicone sealant of the same colour as the grout. And voila, you just tiled a backsplash!
Initial Tiles & Bathware provides an extensive selection of tiles, adhesive, grout & silicone, among other tiling materials, for your assistance. Contact us today for more details.